
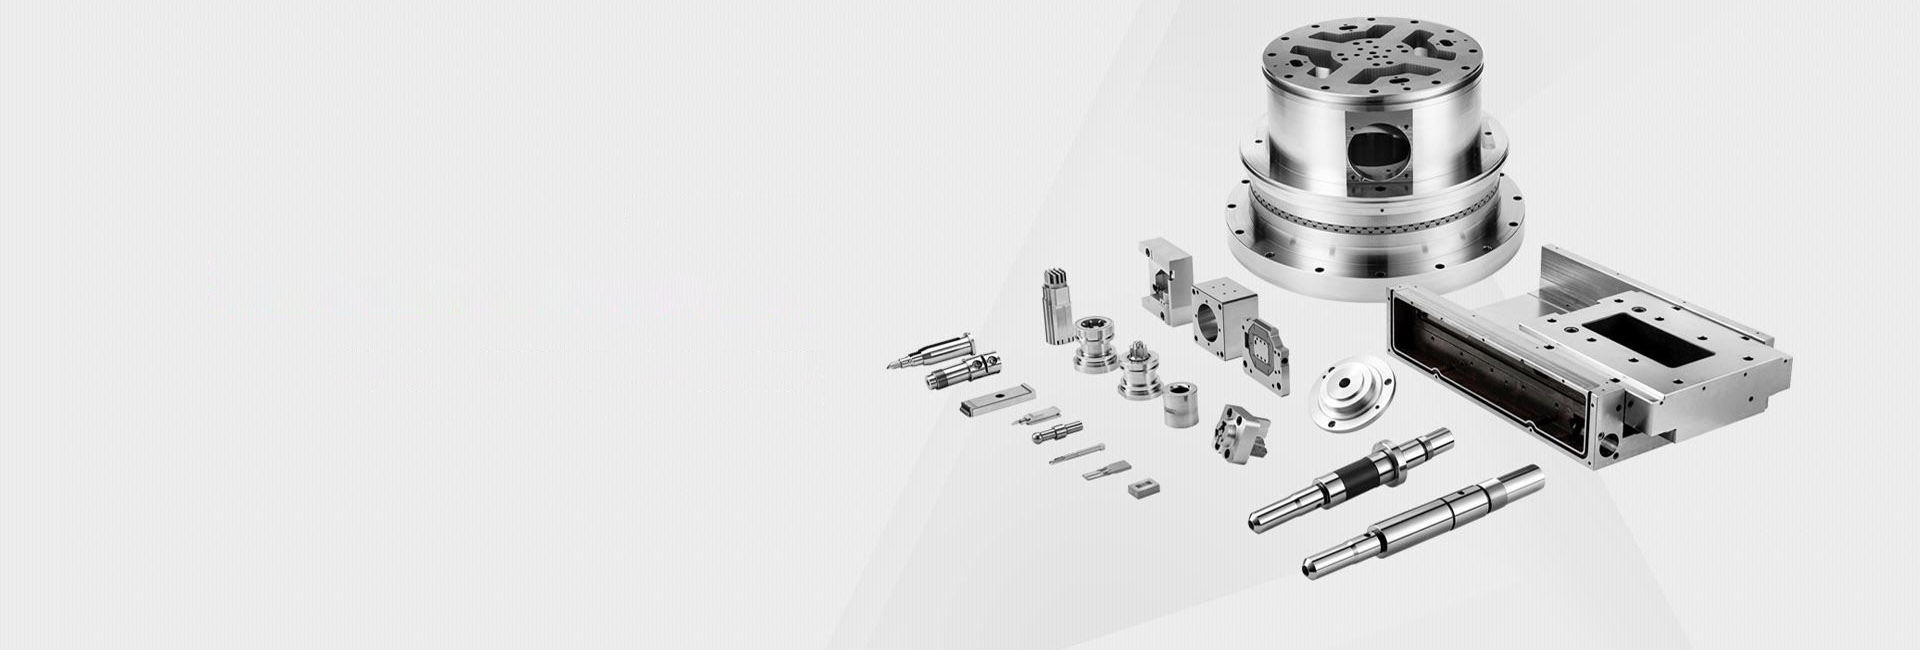
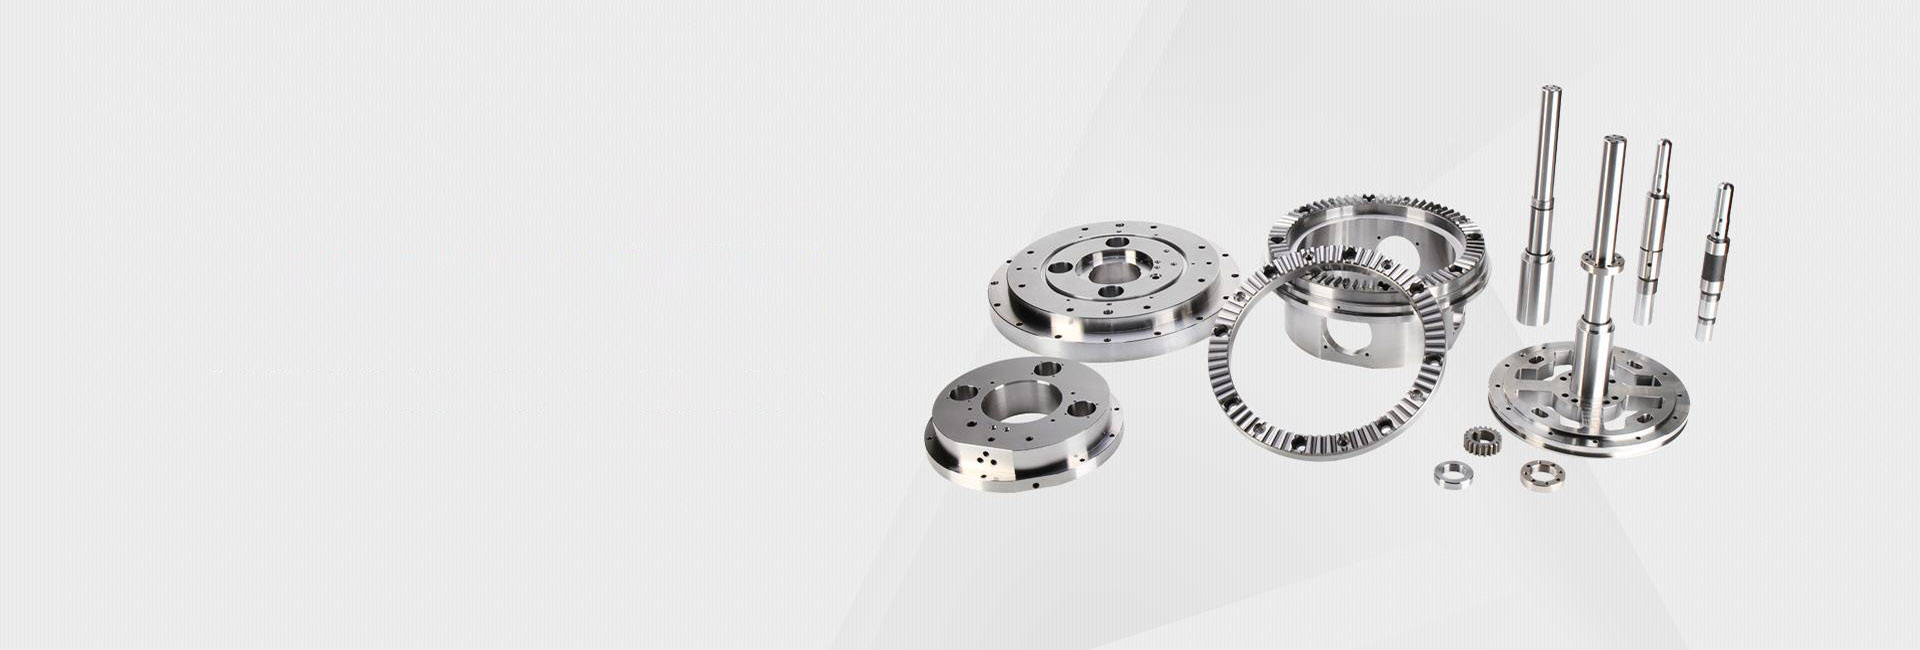
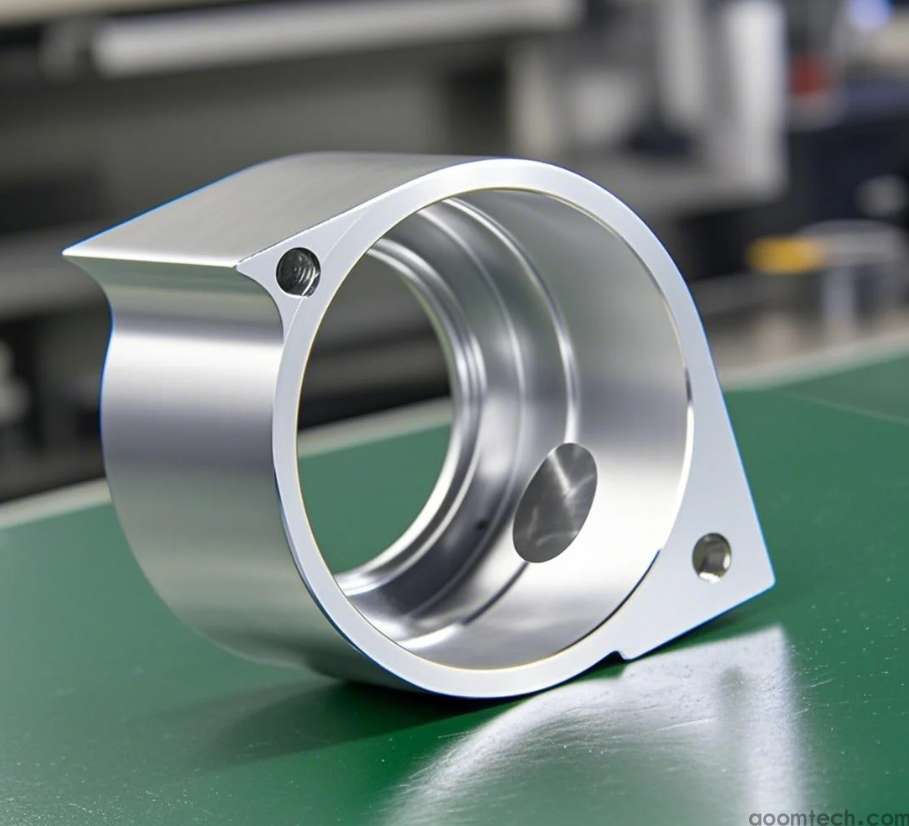
Cómo evitar que los materiales blandos se deformen en el mecanizado CNC: una guía práctica
¿Alguna vez ha pasado horas diseñando la pieza perfecta a partir de un plástico blando, solo para ver cómo se desprendía de la máquina CNC deformada, doblada o simplemente... mal? ? No estás solo. Esta frustrante pérdida de tiempo y material es el dolor de cabeza número uno al mecanizar materiales blandos como nailon, Delrin o incluso ciertos metales más blandos. Pero, ¿y si casi pudieras eliminarlo? Hablemos de los pasos reales y prácticos que puede seguir para mantener sus piezas blandas planas y precisas.
¿Por qué los materiales blandos se deforman durante el mecanizado CNC?
Lo primero es lo primero, tienes que entender al enemigo. La deformación no es mágica; por lo general se trata de stress and heat. Think of the material like a piece of clay. When you cut into it, you're releasing internal stresses, and the tool generates heat. This combination makes the material want to move and reshape itself. It’s like the material is sighing in relief after being held tight for so long, but in a way that ruins your part. While this proves heat is a major factor, the material's own internal structure plays a huge role too.
Las 5 mejores formas de mantener tus partes blandas planas
Bien, vayamos a las soluciones. No se trata de un truco de magia, sino de una combinación de buenos hábitos.
1. Domina el calor con Herramientas afiladas y alimentaciones inteligentes
Esta es la regla número uno. Una herramienta opaca frota en lugar de cortar, generando un calor masivo. Usa siempre razor-sharp tools specifically designed for plastics or soft materials. Then, play with your speed and feed settings. Sometimes, a faster cut spends less time heating the material. Other times, a slower, steadier cut is better. You'll need to test a bit.
2. Domina el arte de trabajar
Cómo sostienes la pieza lo es todo. Si lo aprietas demasiado fuerte, le estresarás incluso antes de empezar a cortar. Cuando suelta las abrazaderas, pop! – it springs back. Vacuum tables are fantastic because they distribute force evenly. If you're using clamps, be gentle and strategic about their placement.
3. La elección de "fresado de escalada" vs. "fresado convencional"
Para la mayoría de los materiales blandos, climb milling is your friend. In this style, the cutting tooth enters the material at its thickest point and exits at the thin, finished surface. This can help reduce heat and gives a cleaner finish. Conventional milling does the opposite and can sometimes lift the part, encouraging warping.
4. No seas un héroe: toma varios pases de luz
Tratar de eliminar todo el material en un corte profundo y heroico es una forma segura de acumular calor y estrés. En cambio, toma multiple lighter passes. This gives the material a chance to cool slightly and reduces the overall force acting on it. It's slower, but you'll actually finish the job with a part that's usable.
5. Deja que se enfríe y se relaje (¡alivio del estrés!)
A veces, el material en sí tiene estrés interno por cómo se hizo. Si está trabajando con con un alborotador conocido, podría intentar annealing it yourself before machining. This is basically a controlled heating and cooling process to relax the material. It's an extra step, but for critical parts, it can be a game-changer. However, this might not be practical for every project.
Mi Toma Personal: Es un Diálogo con el Material
Después de años de hacer esto, he dejado de verlo como solo dar órdenes a una máquina. Es más como un dialogue with the material. You make a cut, you see how it responds. You adjust. The goal isn't to force the material into submission, but to guide it gently to its final shape. Paying attention to the sound of the cut, the look of the chips, and even the smell can tell you a lot about whether you're winning the war on warping.
Entonces, aunque los pasos técnicos anteriores son su hoja de ruta, no olvide escuchar. Esa podría ser la herramienta más poderosa de su taller.
¿Luchando contra con un material específico o una parte súper compleja? A veces necesitas una segunda opinión. Our technical team is ready to help you troubleshoot your design and machining strategy. ? [Contact Our Experts Today]
 ¿Qué Factores Afectan a la Cotización de Mecanizado CNC?
¿Cómo Garantiza Una Fábrica De Mecanizado CNC De Alta Precis
¿Cómo se calcula el precio de la personalización del mecaniz
Cómo calcular el costo de mecanizado CNC
¿Qué Factores Afectan a la Cotización de Mecanizado CNC?
¿Cómo Garantiza Una Fábrica De Mecanizado CNC De Alta Precis
¿Cómo se calcula el precio de la personalización del mecaniz
Cómo calcular el costo de mecanizado CNC