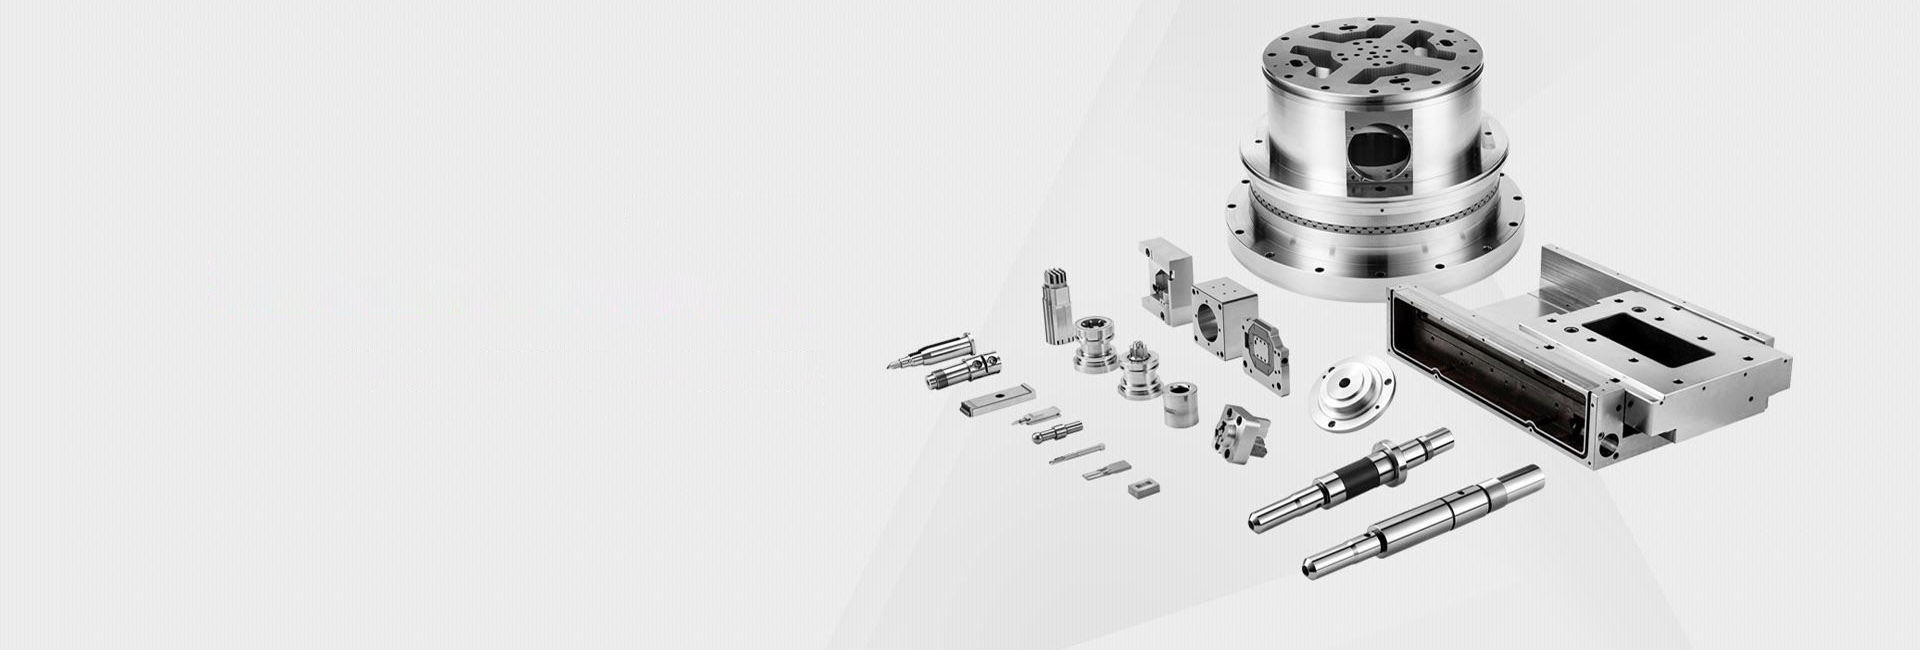
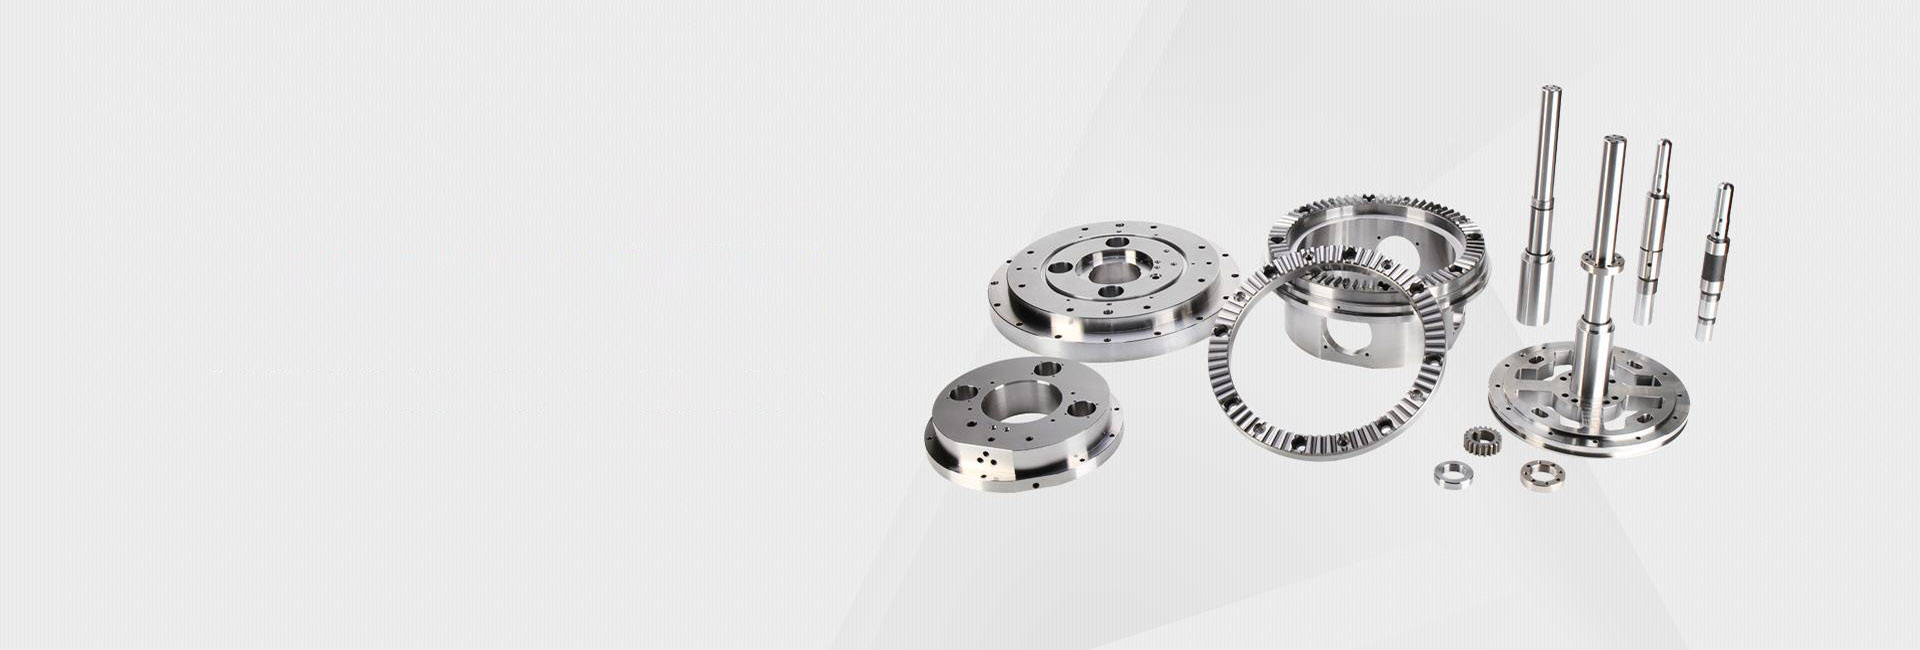
Welcome to AOOM Co., LTD

CNC Machining Tips for Small Precision Parts
Views :
Update time : 2026-06-18
,
/
,
, ,
/
,
. Do not include DOCTYPE, html, head, style, body, or div tags. 展开
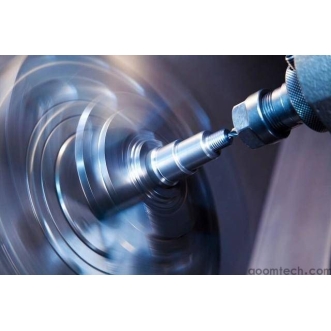
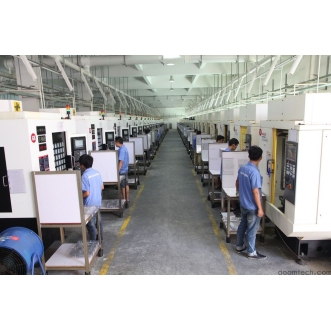
CNC Machining Tips for Small Precision Parts
Small precision components are widely used in electronics, medical devices, automotive systems, and aerospace products. However, machining them is not easy. Many engineers and buyers struggle at the beginning: they are not sure how to achieve stable accuracy, how to avoid tool damage, or how to choose the right material. Even small mistakes can lead to scrap pa
Related News
Read more >>
 How to Ensure Precision in CNC
06 .21.2026
Producing CNC machined parts with high precision means every piece matches the design exactly. Preci...
 Small Batch Precision CNC Mach
06 .21.2026
Producing custom parts in small batches requires a reliable small batch precision CNC machining part...
 What surface finish can CNC ma
06 .21.2026
The surface finish of a CNC-machined part means how smooth or rough the surface is. A smoother surf...
 CNC Machining Tolerance Settin
06 .21.2026
In CNC machining, a tolerance is how much a part’s actual size can vary from its ideal size. Setting...