
CNC Machining Parameter Setting for Stainless Steel Parts
and end with. Do NOT include DOCTYPE, html, head, body, style, or div tags.
CNC Machining Parameter Setting for Stainless Steel Parts
Introduction
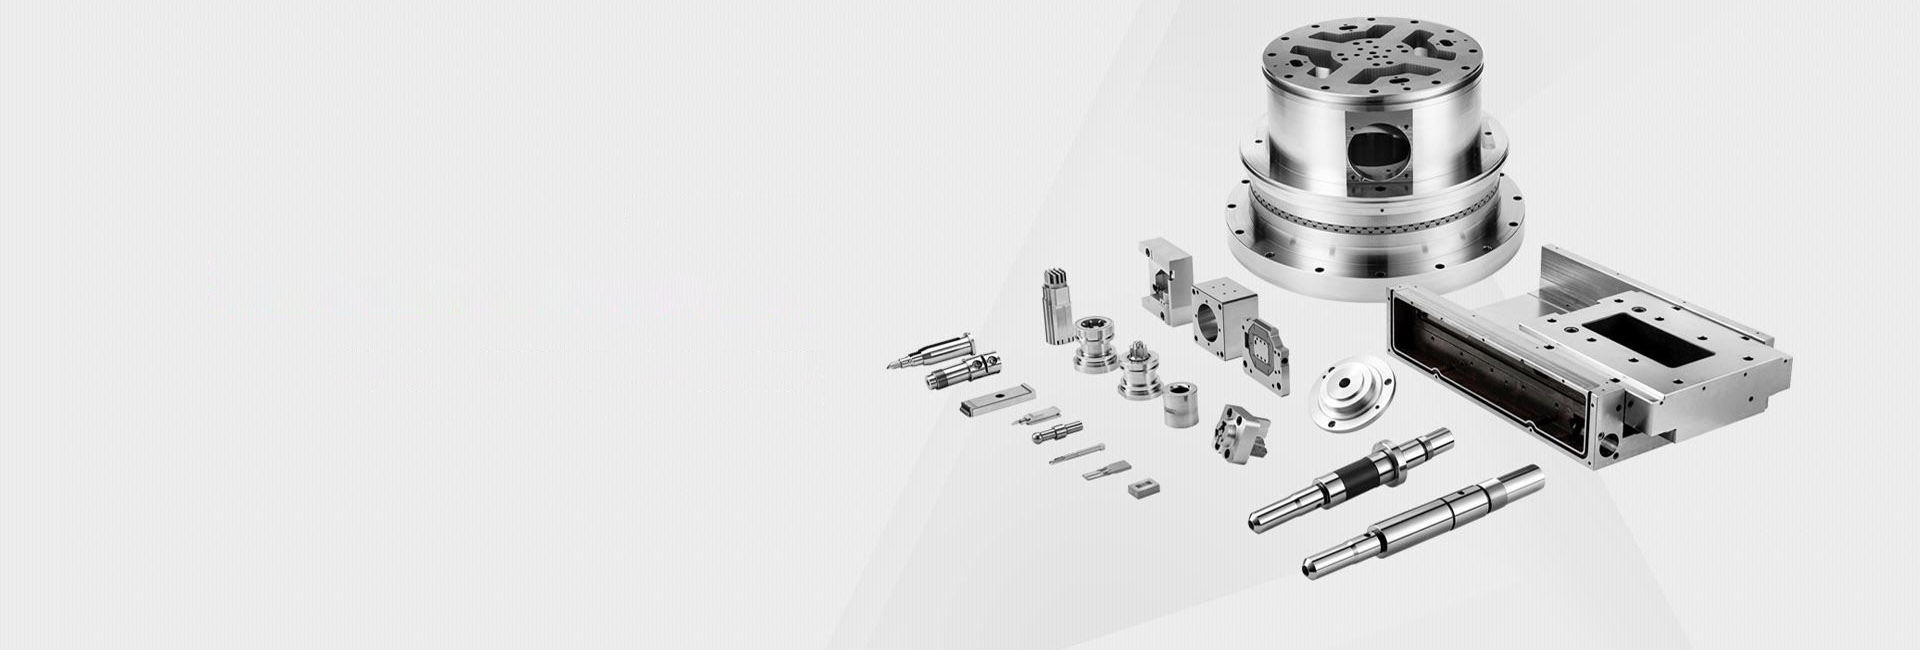
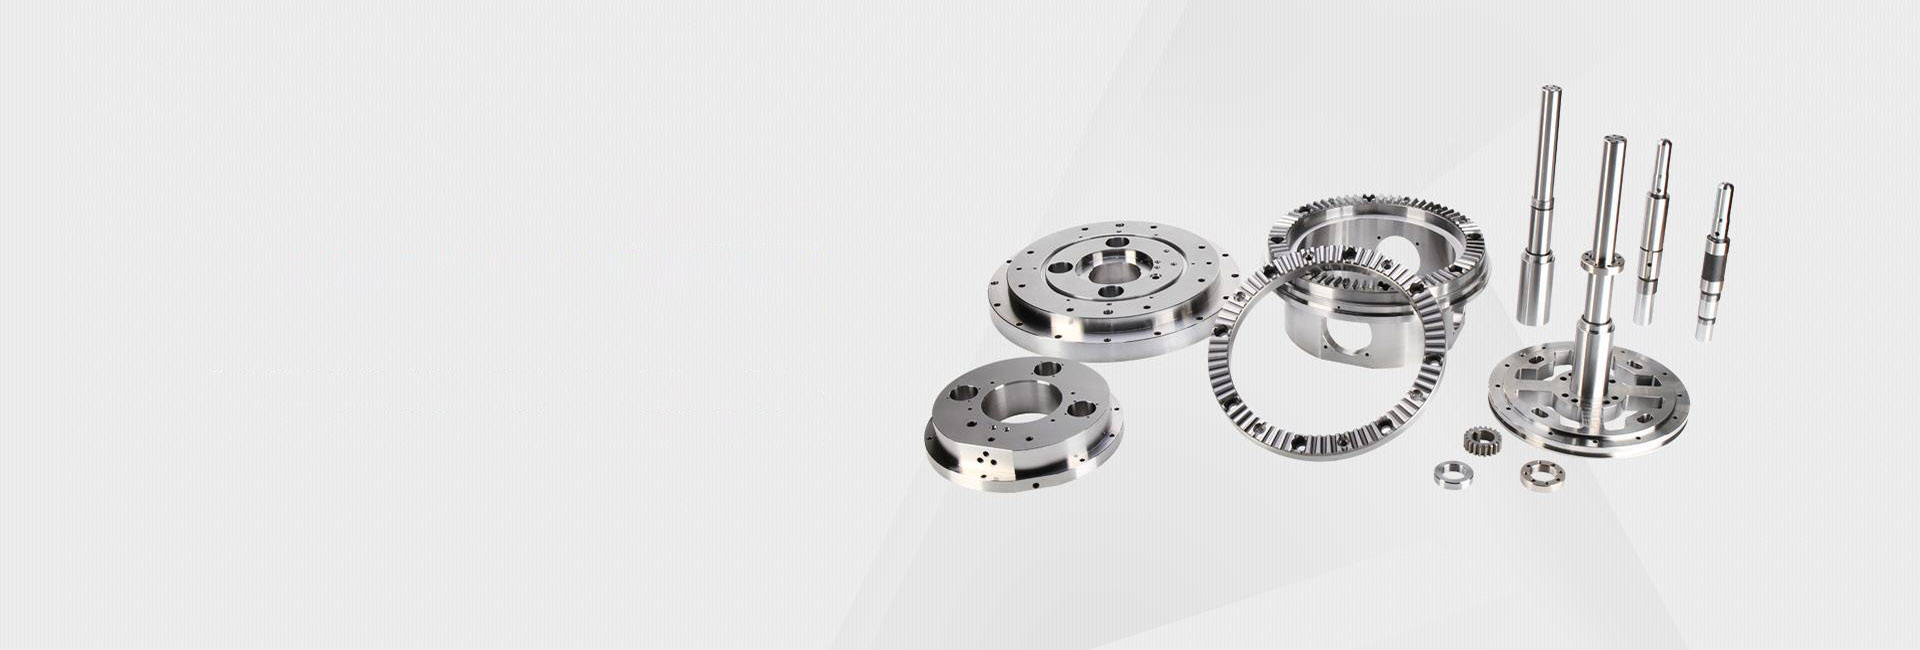
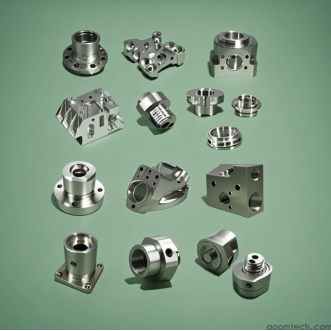
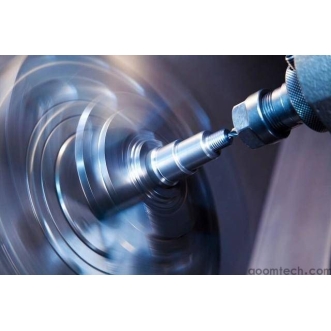
CNC machining of stainless steel parts is widely used in industries such as medical devices, aerospace, automotive, and food processing equipment. However, stainless steel is not an easy material to machine. Many engineers face problems such as tool wear, poor surface finish, vibration, and unstable dimensional accuracy. The key to solving these problems is setting the correct CNC machining parameters.
In this article, we will explain how to properly choose cutting speed, feed rate, depth of cut, and cooling strategy when machining stainless steel parts. The goal is to help improve efficiency while maintaining quality and extending tool life.
Main Challenges in Machining Stainless Steel
Before setting parameters, it is important to understand why stainless steel is difficult to machine:
Hig
 How to Ensure Precision in CNC
 Small Batch Precision CNC Mach
 What surface finish can CNC ma
 CNC Machining Tolerance Settin