


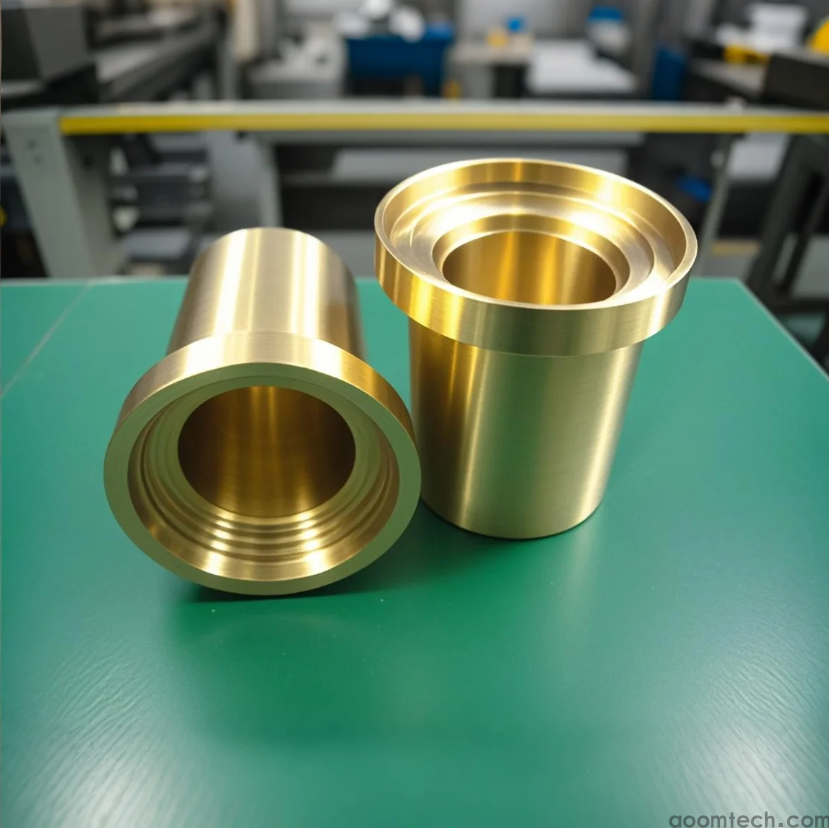
How to Control Surface Roughness in CNC Machined Copper Parts: A Practical Guide
Struggling with rough surfaces on your machined copper components? ? You're not alone. That imperfect finish can lead to parts that don't fit, wear out faster, or just look unprofessional. Getting a smooth surface on copper isn't always straightforward, but it's absolutely critical for performance. So, how do you actually control surface roughness in CNC machined copper parts? Let's dive in and find a clear path to a better finish.
What is Surface Roughness and Why Does it Matter for Copper?
Simply put, surface roughness is about how "bumpy" or "smooth" your part's surface is. Think of it like sandpaper – a lower grit is rough, a higher grit is smooth. For copper parts, a rough surface can be a real headache. It might cause too much friction, weaken electrical contacts, or even trap contaminants. A smooth finish, on the other hand, means better performance, longer life, and a part that just works right. It’s often the difference between a prototype and a production-ready component.
The Main Culprits: What Makes Copper Surfaces Rough?
Copper is a soft and gummy metal, which is both a blessing and a curse for machining. The main villains behind a poor finish often include:
• Wrong Cutting Tools: Using a tool not designed for soft materials can tear the surface instead of shearing it cleanly.
• Incorrect Speeds and Feeds: Going too slow can cause the tool to rub and work-harden the copper; going too fast can create built-up edge and tear-out.
• Improper Tool Path: A clumsy tool path can leave visible witness lines and inconsistent textures.
• Vibration and Chatter: A lack of rigidity in the setup makes the tool vibrate, imprinting those vibrations onto your part's surface.
While these are common issues, the specific interaction between tool coating and copper's unique stickiness is an area where even experts sometimes have to experiment to find the perfect match.
Your Action Plan: Key Strategies for a Smoother Finish
Okay, so we know the problems. Here’s what you can actually do about it.
1. Choose Your Tools Wisely: Go for sharp, polished tools. I frequently use tools with a high positive rake angle – they slice through copper cleanly instead of pushing it around. Carbide tools often work well, but the exact geometry can make a huge difference.
2. Master Your Speeds and Feeds: This is where the magic happens. A higher surface speed with a moderate feed rate usually gives a better finish. However, finding that sweet spot might require some test cuts. Don't just guess; start with recommended parameters and tweak from there.
3. The Coolant Question: Using a coolant can help wash away chips and keep things cool, preventing the copper from sticking to the tool. But sometimes, a well-directed air blast is even better for certain operations, as it prevents chip re-welding without introducing fluid that might later cause staining.
A Little-Known Factor That Might Be Holding You Back
We talk a lot about the machine, but what about the material itself? The specific grade of copper you're using can be a game-changer. Pure copper is very soft and gummy, making a mirror finish a real challenge. Sometimes, switching to a tellurium copper or another free-machining grade can make achieving a low surface roughness dramatically easier. It's a trade-off between pure conductivity and machinability, but one that's often worth making.
Putting It All Together: It's a System, Not a Single Switch
Controlling surface roughness isn't about one magic trick. It's the entire system – a rigid setup, the right sharp tool, optimized machining parameters, and even the right material choice. When all these elements click, that's when you get parts with a consistent, beautiful finish that meets your specs every time.
From my own experience, the biggest leap in quality often comes from paying obsessive attention to tool sharpness and that first test cut to dial in the speeds and feeds. It feels like a delay, but it saves so much time on rejects later.
Getting the perfect finish can be tricky, and sometimes you need a partner who gets it. If you're battling with your copper parts and need a reliable solution, why not talk to an expert? Reach out to our technical team today for a no-obligation consultation on your project. We're here to help you get the quality you deserve. ??
 Small Batch Precision Parts CN
How to Ensure Precision in CNC
How to Calculate CNC Machining
How is the price calculated fo
Small Batch Precision Parts CN
How to Ensure Precision in CNC
How to Calculate CNC Machining
How is the price calculated fo